To upload your Adobe InDesign template to Tweak, follow these steps:
1- Click on Templates in the left toolbar of the Tweak platform.
2- On the top of the page, click on Upload Templates.
3- On the pop-up window, click Browse Files or simply drag and drop your .zip file containing the Adobe InDesign template package.
4- Click Upload to start the upload and conversion process.

After the upload, the system will begin the conversion process. If your packaged file meets the requirements of the Tweak Designer guide, you will be allowed to proceed.

On the Template Upload page, you can define various preferences for your template.
Enable or Disable Export options.
You can add metadata to your template, providing additional information and categorization that facilitate the searchability and filtration.

After uploading your template to Tweak, you can review its content and make any necessary changes. Take your time to ensure that the template meets your requirements and is ready for use.
Start the reviewing process by clicking on the Save & Continue button.
Once you are satisfied with your template, you can set the design permissions.
1- Use the Global Permissions feature to apply permissions to text, objects, and images throughout the entire document. This allows you to control who can edit and modify various elements in the template.
2- After setting the design permissions, click on the Apply Permissions and Go to Prepress button located at the bottom left of the screen.

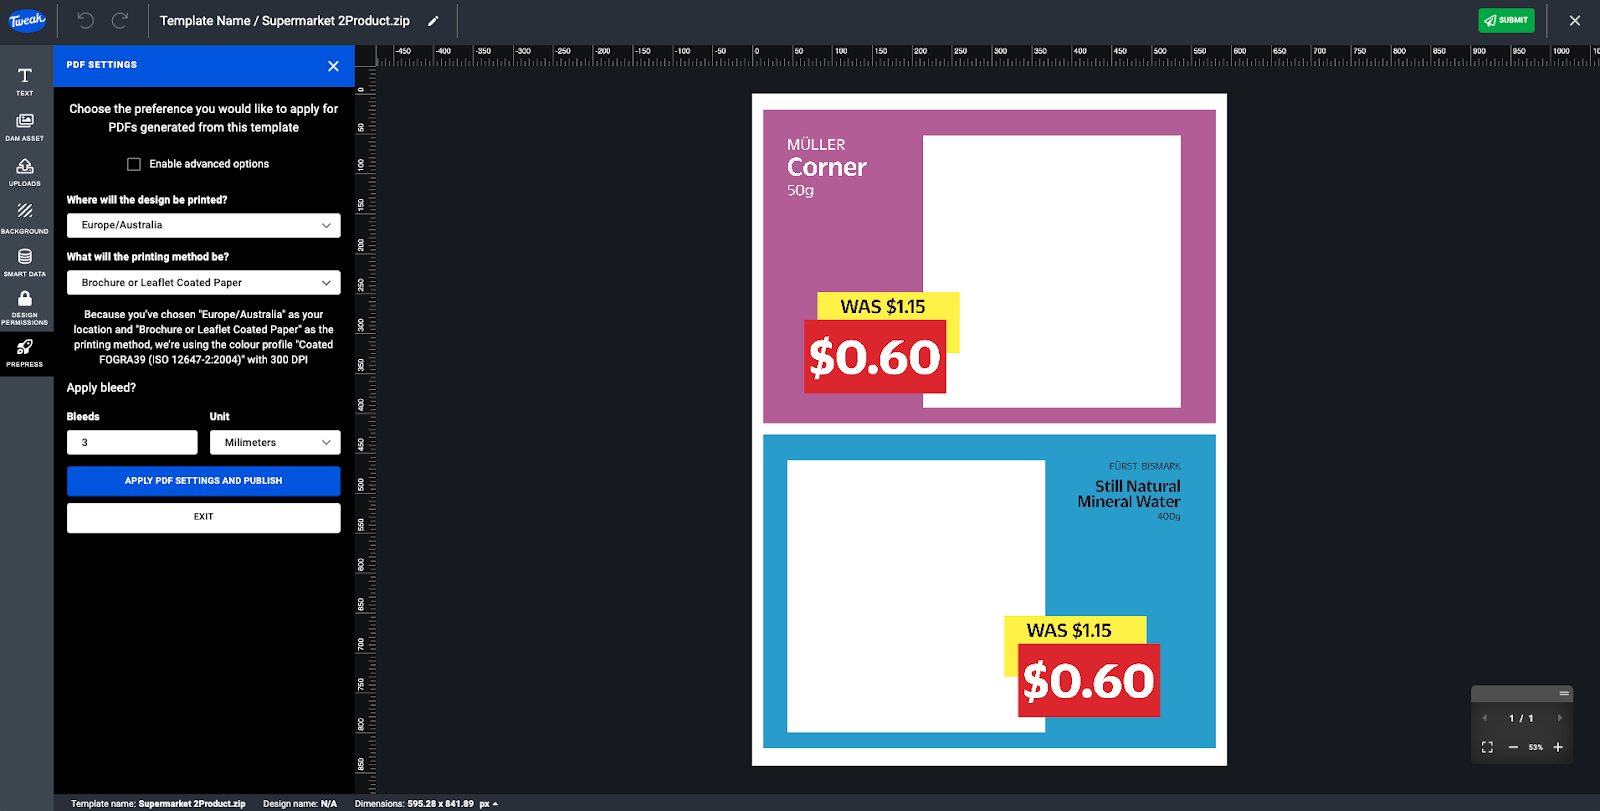
This action will apply the permissions you have set and take you to the Prepress section. In the Prepress section, you have control over how print-ready PDFs are generated from your template.
If you are unsure about the specific PDF output settings, you can use the Easy Wizard Pre-press system, which automatically sets the output settings based on printing region and method.
Alternatively, if you have specific PDF output settings in mind, you can Enable Advanced Options to customize them according to your needs.

Once you have configured the PDF output settings, click on the Apply PDF Settings and Publish button. This action finalizes the settings and publishes your template.
Your template is now available on your Templates page and ready for use or continue any editing before publishing for other users.
By following these steps and defining the template preferences, you can successfully upload your Adobe InDesign template to Tweak, customize its settings, and make it available for users to access and modify within the platform.