Assets can have multiple versions. Using the Versions tool, it’s possible to add new versions and determine which version is live in the DAM (Master).
1- Double click on the asset you wish to change versions on.
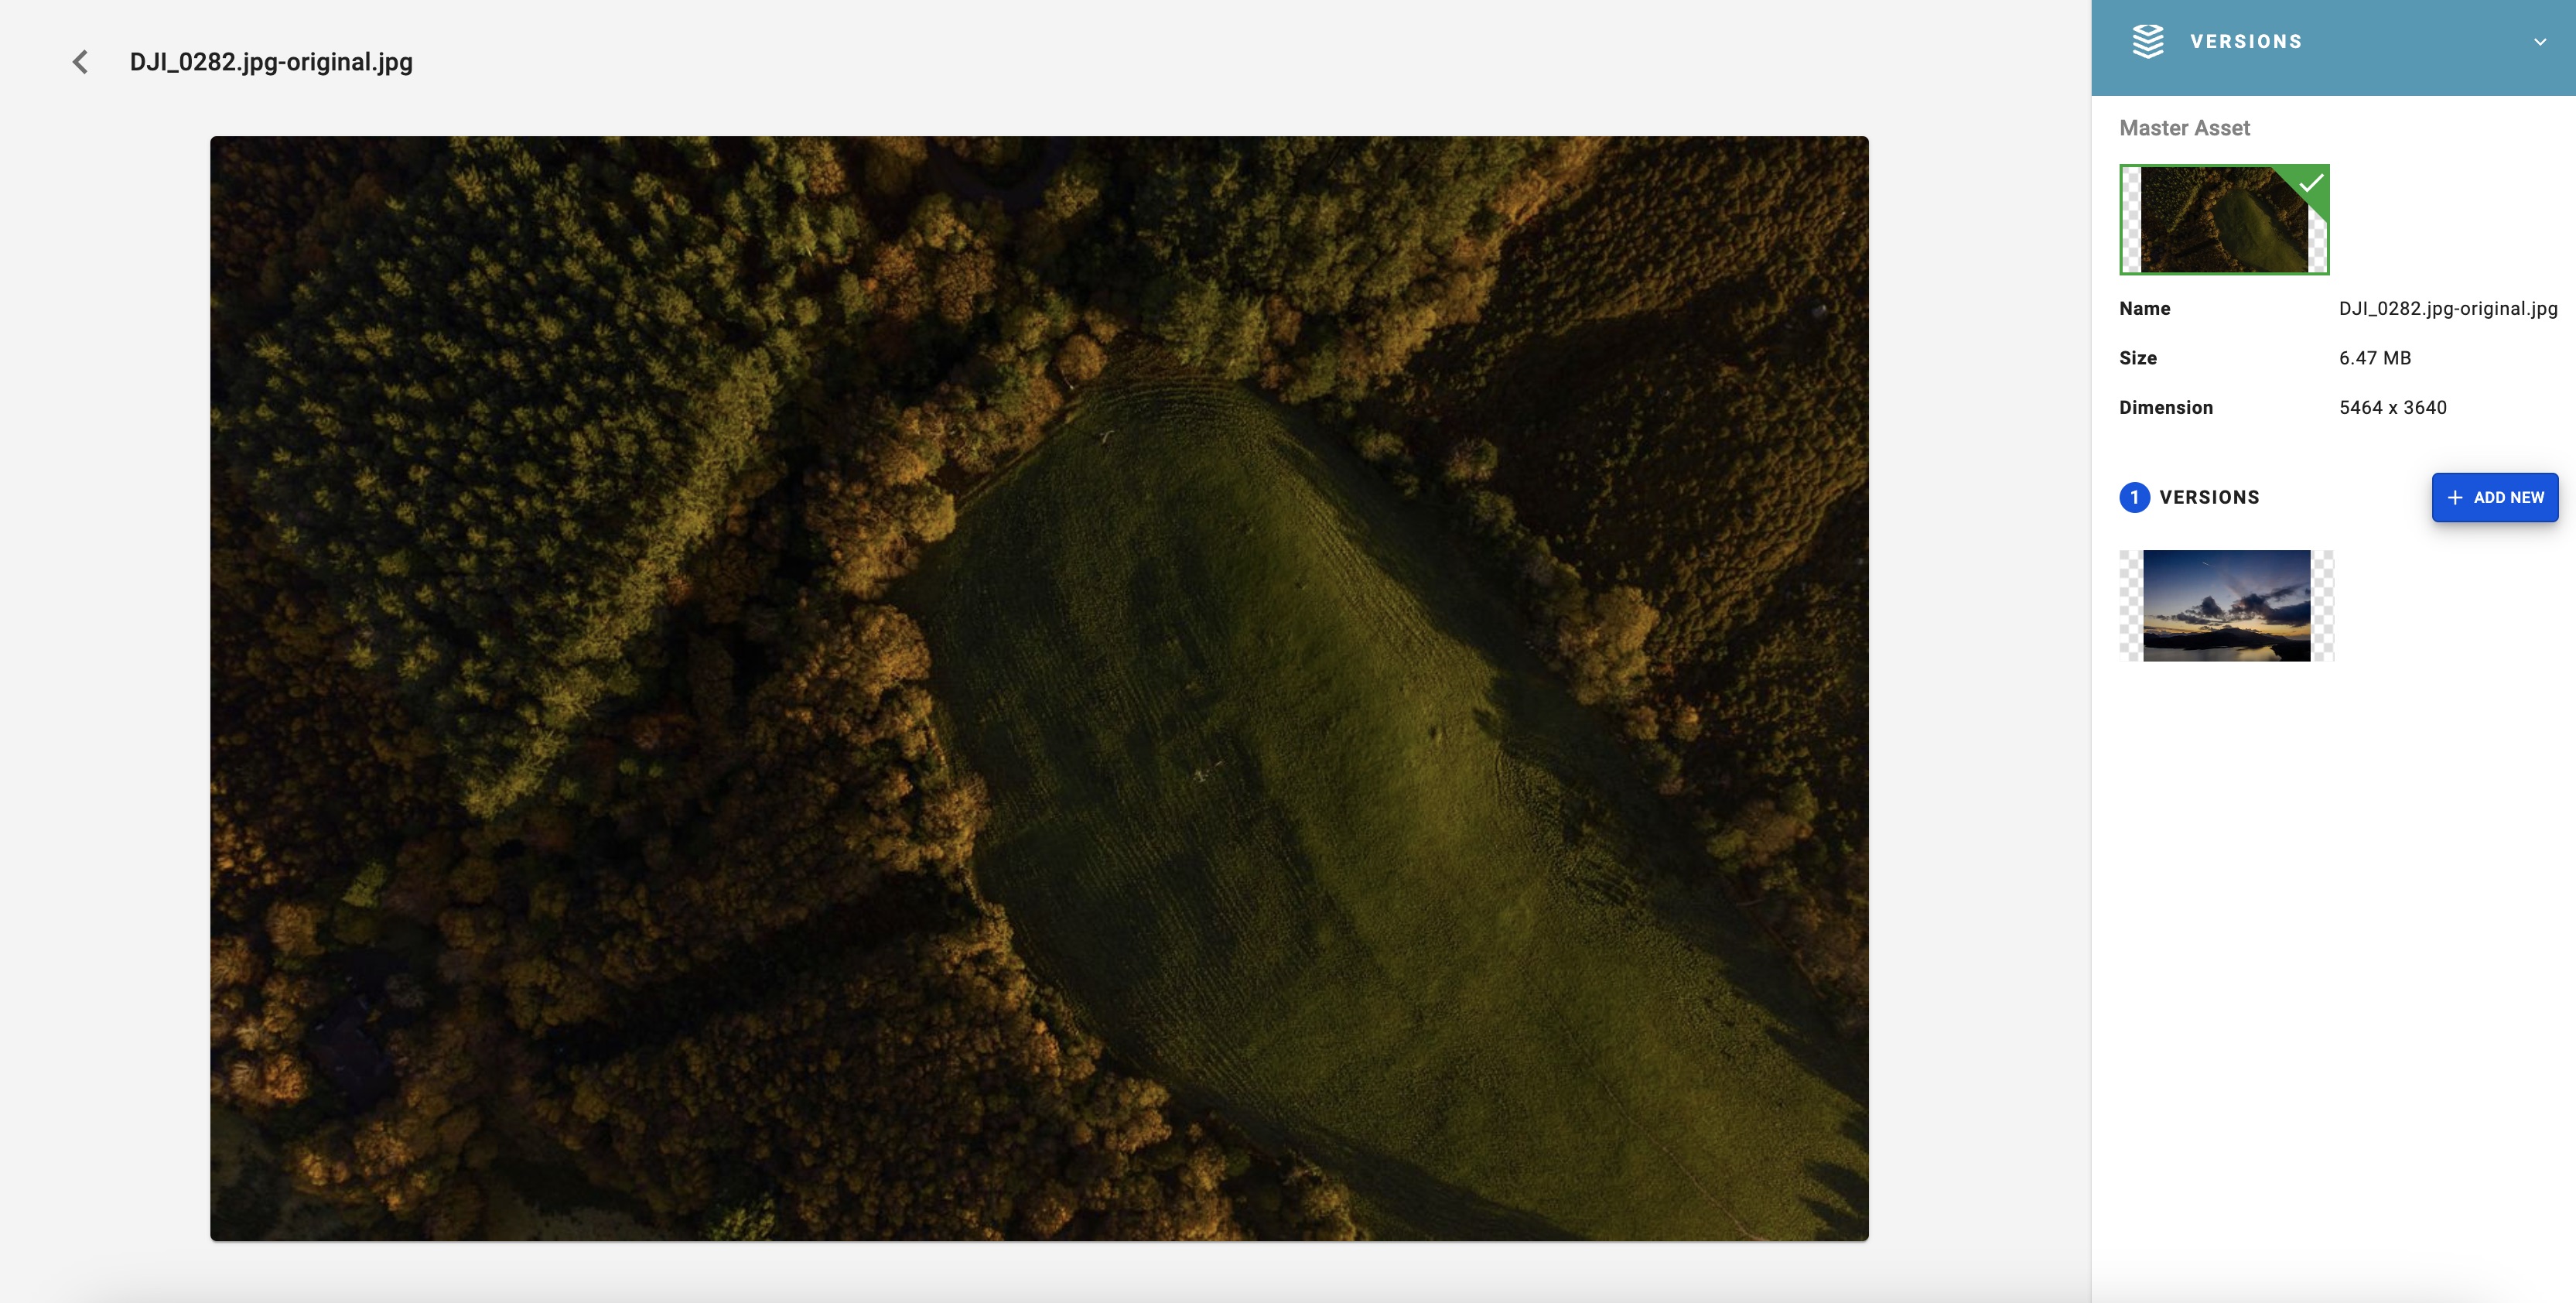
2- On the blue panel in the top right of the dialog, navigate to Versions
3- Click on the blue button Add New. Drop a new file on the panel or browse your computer to find a replacement version.
4- When you’ve added the new version, there’s an option to name the version and add a comment. Then click Create.
5- When the new version is created, there’s an option to select versions and Delete or Make Master, followed by a confirmation button. The Master is the version that will be visible to users in the DAM.
When enhancing images with crops, badges, background removal or colorization in the Transform tool, it’s possible to save an image as a new asset or a new version. When saving an Transformation as New Version this version will become the Master Version.
1- Double click on an image and click on Transform on the right hand panel.
2- When your transformation is complete, click on the green button on the bottom right of the dialog and select Save version.
3- Fill in Version Name and Description, which are Mandatory fields.
4- Click Save and you’ll get a confirmation message.
